Difference between revisions of "Starting out with GXtest Manager"
(→Step 1: Create a User) |
(→Step 2: Select a project) |
||
| Line 20: | Line 20: | ||
If you select a user and a project you will find more enabled options in the menu. | If you select a user and a project you will find more enabled options in the menu. | ||
| − | |||
| − | |||
| − | |||
| − | |||
| − | |||
| − | |||
| − | |||
== See Also == | == See Also == | ||
Revision as of 22:01, 19 March 2010
To begin, we are going to create a user in GXtest Manager and check some settings and general definitions.
Step 1: Create a User
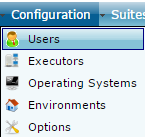
Go to the URL where we installed GXtest Manager and select the main menu section Configurations and then Users.
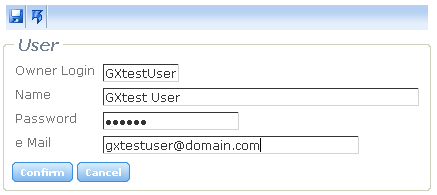
Then press the button ![]() to add a new user, and on the next screen we have to enter the data on it as you can see in the followin image:
to add a new user, and on the next screen we have to enter the data on it as you can see in the followin image:
The email address you enter here will be used later to send the result's reports of Suites and Tasks executed, which are associated to the user.
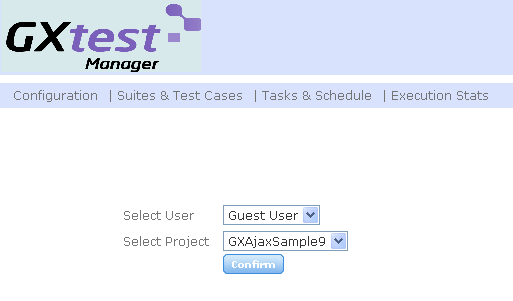
Once created, we can start working with it in the home screen (Home), to login into the application.
If you select a user and a project you will find more enabled options in the menu.
See Also
To continue we will see some settings and environment definitions for the systems under test (SUT) where the tasks will be executed. To continue see Basic Configurations in GXtest Manager.


